HOME-TRIVIA: HOME IMPROVEMENTS-Series #2
DIY HOME CARE:
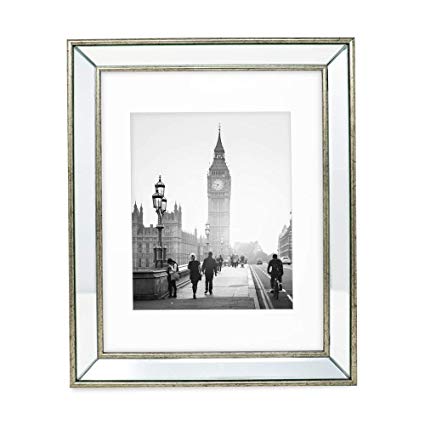
- I. The saying, “simple things go a long way” holds true for mirrors. It might not seem like a big deal, but the surprisingly easy task of framing a mirror makes it so much more elegant and classy than before. It also only requires a few hours of work and a few bucks from your wallet. So, what are you waiting for? Transform any room by adding a simple trim around the edge of your mirror!
–THIS SPACE BELOW IS RESERVE FOR YOUR ADVERTISEMENT –

- II. The first step is to measure your mirror using a tape measure. Identify the size of the frame, and determine whether you will be attaching it to the mirror itself or the wall. Consider the size of the frame when measuring, then it’s off to the hardware store to purchase the trim board of your choice.
–THIS SPACE BELOW IS RESERVE FOR YOUR ADVERTISEMENT –

- III. The next step is to cut your boards to the desired length. You will need a miter saw set at a 45-degree angle for this task. However, if you do not own a miter saw, you may either rent one or purchase pre-mitered boards in your local home improvement store.
–THIS SPACE BELOW IS RESERVE FOR YOUR ADVERTISEMENT –

- IV. You may either paint your board in your desired color or leave it as is. If you do decide to paint it, make sure to cover the back of the board as well, as it will reflect in the mirror. Once the paint has dried, you are now ready to install the frame.
–THIS SPACE BELOW IS RESERVE FOR YOUR ADVERTISEMENT –

- V. When attaching the frame, you have to start with the bottom piece. Apply liquid nails to the board’s back, but make sure not to apply on the edge near the mirror. Press the frame onto the mirror or wall, depending on your preference. Secure the frame using painter’s tape. Repeat the steps with the two side pieces, and lastly, the top.
–THIS SPACE BELOW IS RESERVE FOR YOUR ADVERTISEMENT –

- VI. After the liquid nails have dried and the frame is completely secure (around 24 hours), remove the painter’s tape. If you see any uneven corners, don’t worry: there’s nothing caulk and sand can’t do! Once done, touch up the frame with paint. And voila, enjoy the results of this simple project and the massive difference it made to your room!–THIS SPACE BELOW IS RESERVE FOR YOUR ADVERTISEMENT –
 _
_ All photographs, news, editorials, opinions, information, data, others have been taken from the Internet..aseanews.net | asean_


